
Document Direct is a campaign tool that allows you to send risk management resources to clients.
Creating Client Groups
Client Groups can be created to select from when using Document Direct. To create client groups, follow the steps below.
- From your admin site, select Setup from the navigation bar, and then select Client Groups from the drop-down menu
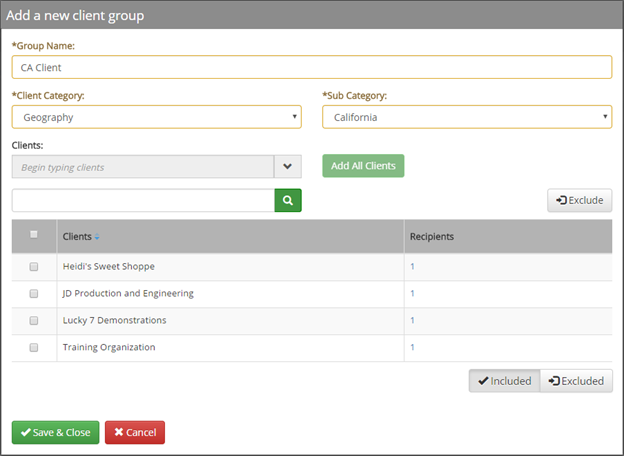
- Select the New button in the top right to create a new Client Group
- Enter a name for the group
- Select the Client Category from the drop-down menu
- Select the Sub Category from the drop-down menu
- Select the clients to add or select to add all clients
- Once you have the desired clients added to the group, click Save & Close to save the client group.
Sending Documents through Document Direct™
Follow the steps below to send documents to clients through Document Direct™
- From your admin site select Succeed Advantage® from the menu bar, and then select Document Direct™ from the drop-down menu
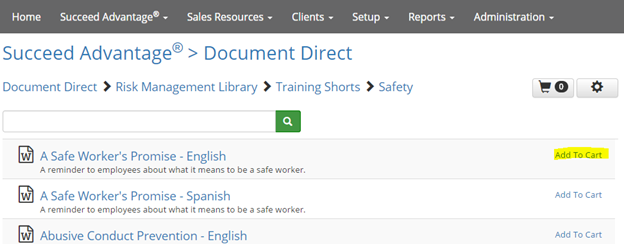
- Browse through the library to find the documents you would like to send
- Once you find the desired document, select Add to Cart
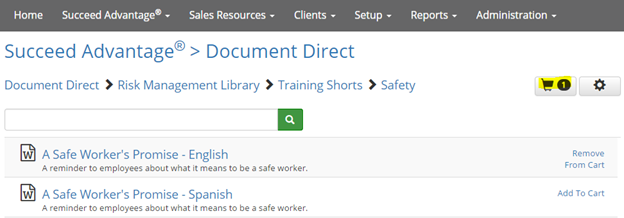
- Add all desired documents that you would like to send to the cart
- Once you are ready to check out and send the documents in your cart, select the cart icon at the top-right
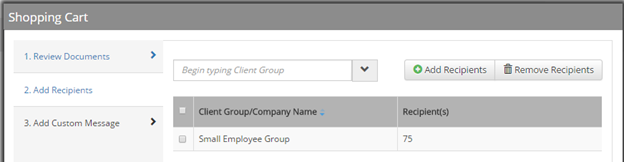
- Review the documents you are sending, and then select Next
- Add recipients to the Document Direct™ campaign. You can either add a client group or specific clients.
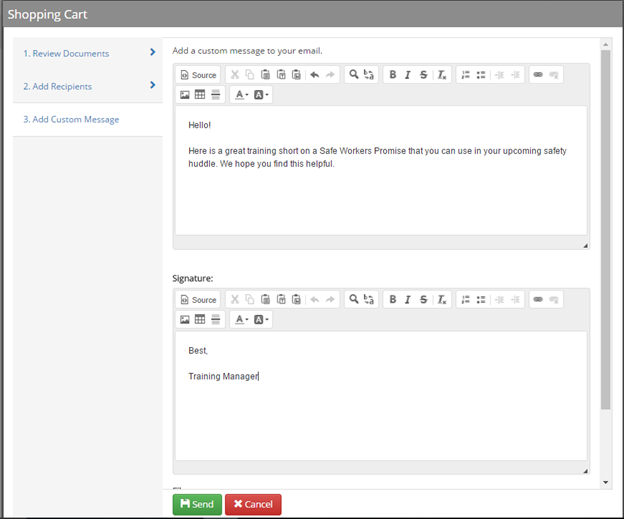
- Add a custom message and your signature.
- Select Send to send your campaign.
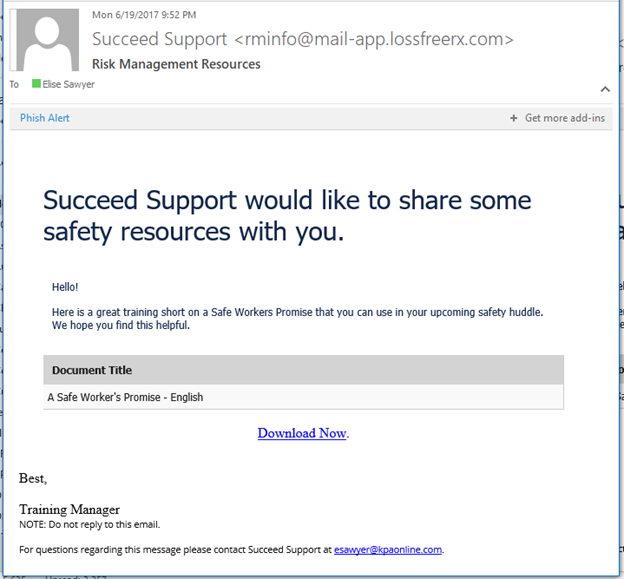
Here is an example of a Document Direct™ email
Comments
0 comments
Please sign in to leave a comment.